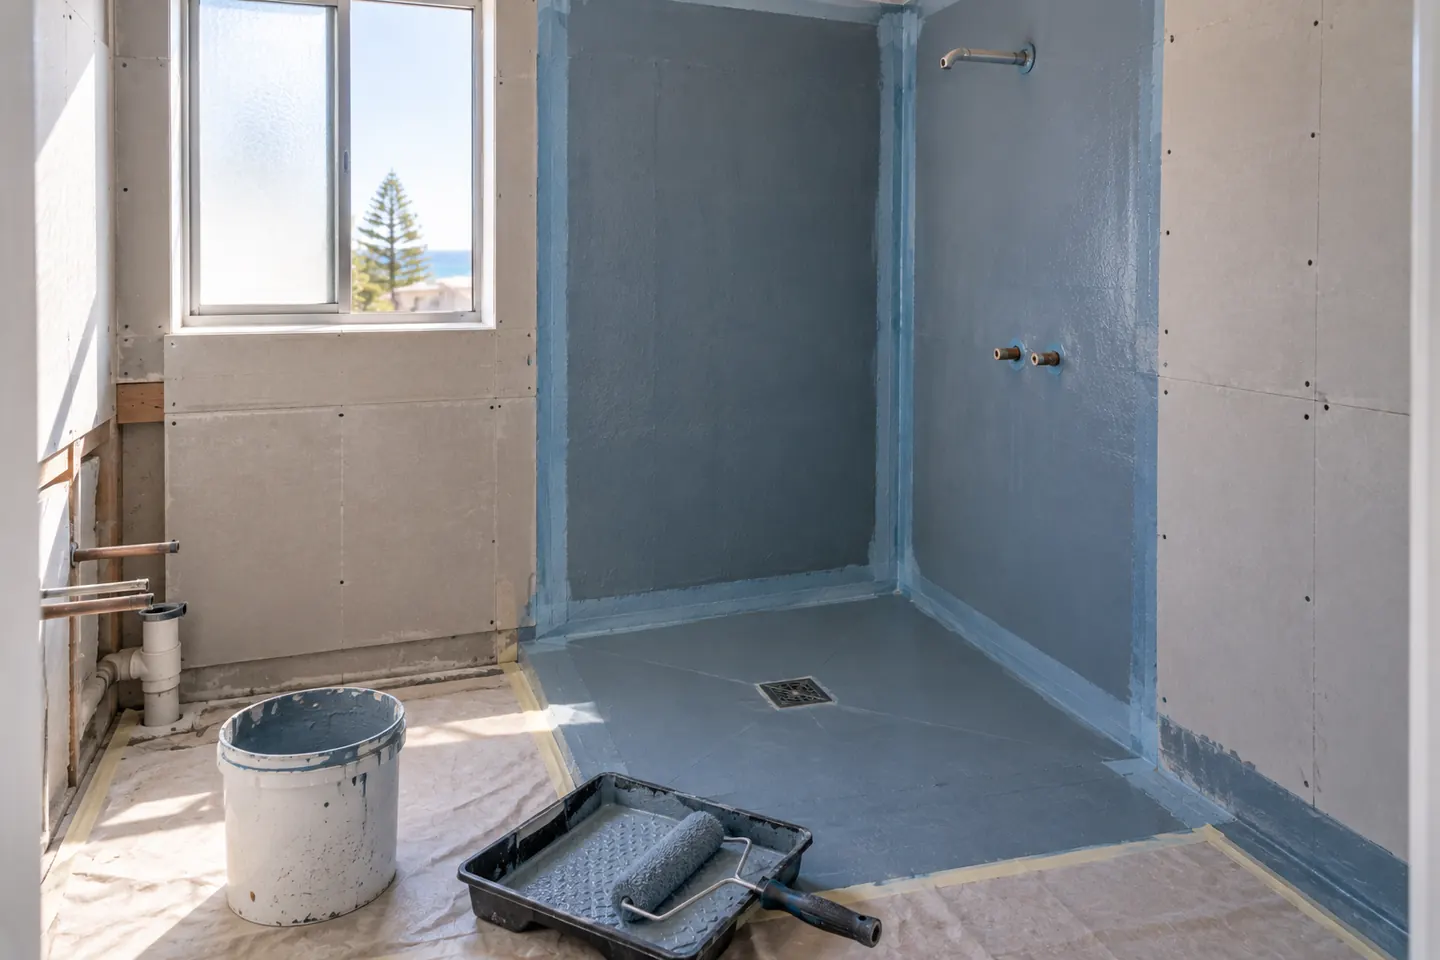
Why beach bathrooms leak
The most common causes of shower leaks in Cronulla homes and units are ordinary ones, made worse by age and use.
- No membrane at all. Bathrooms built before membranes were standard, including many in older walk-ups and post-war houses, rely on tiles, grout and a mortar bed.
- A membrane that has failed. Early membranes, poorly applied membranes or ones that were not turned up the walls far enough.
- Movement cracks. Timber floors and suspended slabs move slightly. Rigid junctions crack and let water through.
- Failed seals around the waste. The puddle flange and the connection between the membrane and the floor waste are where many leaks start.
- Degraded silicone and grout. The first line of defence, and often the first thing to fail.
Summer adds pressure. Holiday households and beach days mean more showers, more sand, and more water across the floor.
The waterproofing sequence
1. Strip back to a sound base
Old tiles, mortar bed and linings are removed. In units, this is the noisiest stage and usually runs in restricted hours. Suspect sheeting in older buildings is tested for asbestos first.
2. Repair and prepare
Concrete slabs are cleaned and any damage repaired. Timber floors get structural wet-area sheeting fixed to limit movement. Walls get wet-area-rated board.
3. Set the waste and puddle flange
The floor waste is set at the right height, with a flange that allows the membrane to seal into it. This detail decides whether water that gets under the tiles finds its way to the drain or into the building.
4. Screed with falls
A sloped screed directs water to the waste. In a hob-free shower, the fall inside the shower must be enough to clear water while the rest of the floor stays level with the doorway.
5. Bond breakers and reinforcement
Flexible bond breakers at internal corners and wall-floor junctions allow slight movement without cracking the membrane.
6. Membrane
Applied at the thickness and number of coats the product requires: across the floor, up the shower walls, along the junctions and around the doorway, with an upstand or water stop at the threshold.
7. Cure
Full cure before tiling. Humid coastal weather can slow some products. Rushing this stage to save a day is the most expensive shortcut in a bathroom.
8. Record it
Photos before tiling. Product and applicator details. Any certificate on completion.
Australian Standard AS 3740 sets the requirements for waterproofing domestic wet areas, and waterproofing work in NSW should be carried out by a licensed contractor.
Concrete slabs in units
In an apartment, the membrane sits on a slab that is common property. Moving the floor waste is rarely possible, so the design works around the existing position. The detail at the waste and at the door threshold is critical, because water that escapes either one ends up in the unit below or in the corridor.
Owners corporations commonly ask for the waterproofing method and the contractor's details before approving. See apartment and small bathrooms.
Timber floors in houses
Many older houses in Woolooware, Kurnell and Bundeena have bathrooms on timber floors. Waterproofing on timber needs structural sheeting at the right thickness and fixing, flexible junctions and a membrane rated for the movement. It is also a chance to check the subfloor for damp, rot and termite activity near the old shower.
Upper-floor bathrooms
Ensuites and main bathrooms upstairs in two-storey homes sit over living rooms and bedrooms. A failure shows up as a ceiling stain, bubbling paint or a sagging plasterboard ceiling below. The same membrane process applies, with extra care at penetrations and junctions. See ensuites.
Outdoor showers and laundries
Laundries are wet areas and need waterproofing too, particularly in beach households that rinse wetsuits in the tub. Outdoor showers drain differently, but water still needs to be kept away from the house structure. See laundries and outdoor showers.
Signs to watch for
- Grout that stays dark long after the shower has been used
- Drummy or lifting floor tiles
- Swelling at the bottom of the door frame or vanity
- Paint bubbling on the wall outside the shower
- A musty smell that does not clear
- Stains on the ceiling below, or a neighbour knocking on the door
The builder
Renovation work is carried out in partnership with Coastal Renovation Group, a licensed NSW builder, with waterproofing by appropriately licensed trades. Licence and insurance details are provided on request. See how we work for where waterproofing fits in the program.
Call 02 5850 4715 or send the details through.
Also by the beach
Questions people ask before they commit
My shower is leaking into the unit below. What happens now?
Stop using the shower, tell your strata manager, and have the source investigated. If the membrane has failed, the lasting fix is removing the tiles and re-waterproofing, which in most buildings needs owners corporation approval. Keep records of all correspondence.
Can a leaking shower be sealed without removing the tiles?
Surface sealers and regrouting can help where the leak is through grout or silicone, but they do not repair a failed or missing membrane. They are a short-term measure at best in a strata building.
How long before the new shower can be used?
The membrane must cure fully before tiling, and grout and sealants need time before water use. Across the whole job, the shower is out of action for the full renovation program, typically four to five weeks in a unit.
What records should I keep?
Photographs of the membrane before tiling, the product used, the name of the licensed waterproofer and any certificate issued on completion. Owners corporations and future buyers often ask for them.